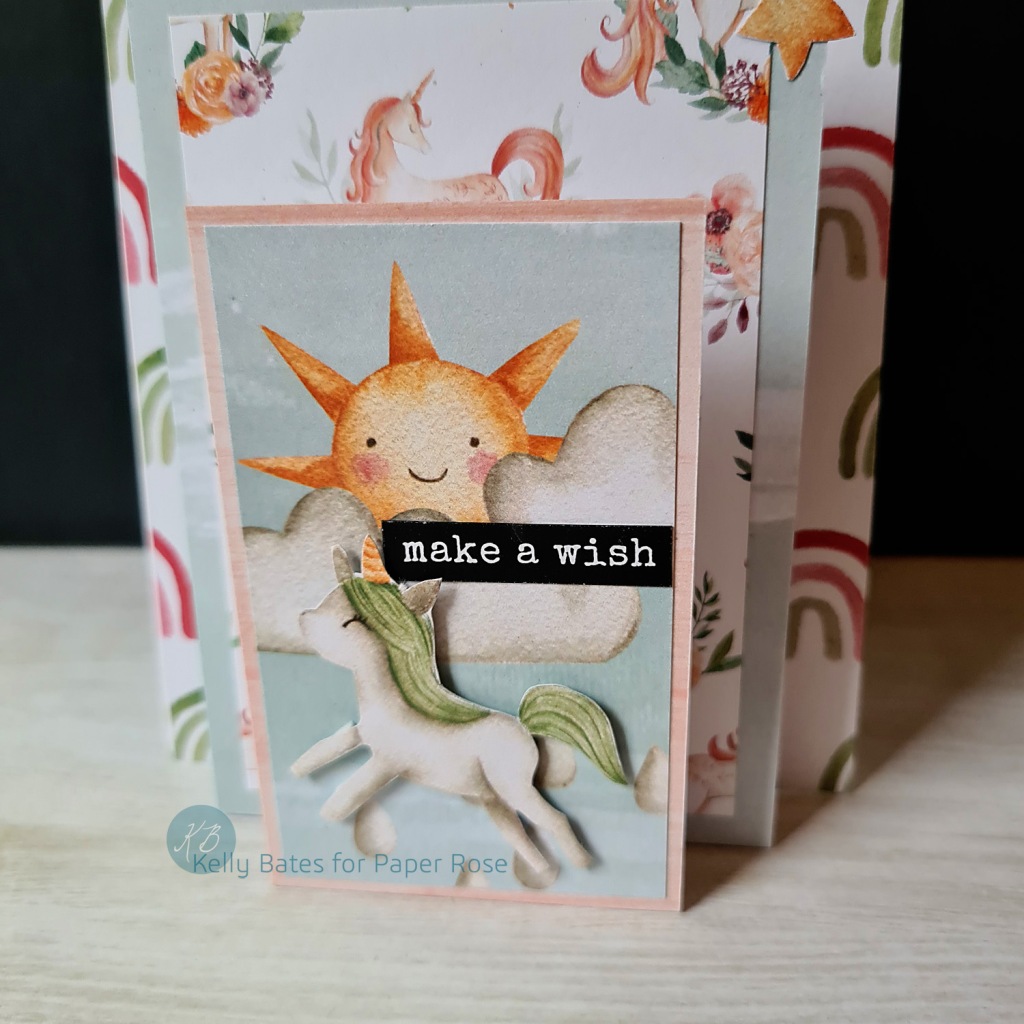
Happy 2022 Everyone! I’m back for another year with Paper Rose Studio and I really can’t wait to share today’s card with you as it’s a new pop up card design that’s taken the fancy fold card makers by storm in the last fortnight. The original is a 5 x 7 card, however I’ve resized it to an A6 size for today’s post as I recently picked up a packet of the top fold cards from Paper Rose, so let’s get into it!
Paper Rose Products used: Unicorn Party 12 x 12 Paper Collection, Smooth White Cardstock, Top Fold White Card Bases (AU Size), Liquid Glue
Advertisements
REPORT THIS AD
Other products used: Paper Trimmer, small sharp scissors, foam tape.
The card is called a Double Front Step Pop Up Card and it’s been created by Iced Images. Hers is a 5 x 7 card, but I’ve sized it down to be an Aussie A6 size. It’s a bit more involved in the set up, but the putting together part is super quick, so I’ll start with what you need to cut and have ready to go.
- 1 x AU size TOP folding card base
- 1 x white panel measuring 16.5cm x 8cm – scored at 1.25, 2.5, 3.75 and 5cm at one end only.
- 1 x white panel measuring 14cm x 5.5cm – scored at 1.25, 2.5, 3.75 and 5cm at one end only.
- 1 x patterned paper panel measuring 15cm x 10.5cm
- 1 x patterned paper panel measuring 11.5cm x 8cm
- 1 x patterned paper panel measuring 10.5cm x 7cm
- 1 x patterned paper panel measuring 9cm x 5.5cm
- 1 x patterned paper panel measuring 8.5cm x 5cm
To create your stepped panels: With both the white scored panels fold and burnish each crease line then trim a hairs width of paper from the end of each at the scored end. Fold the scored lines into a box shape and glue the tab onto the back of what is now your panel.
Decorate the card base and both stand up panels now with your patterned papers.
To assemble: Lay your card base flat and fold down your larger step panel so that two walls of the box are showing. Flip the panel over and add glue to the lower wall now facing you. Flip it back so the glue is facing towards your card base, line it up centred and press together. Do the same with the smaller step panel lining it up with the bottom of the patterned paper on your smaller larger step panel.
Add any extra embellishments etc at this stage and then you’re done!


