Hello friends!
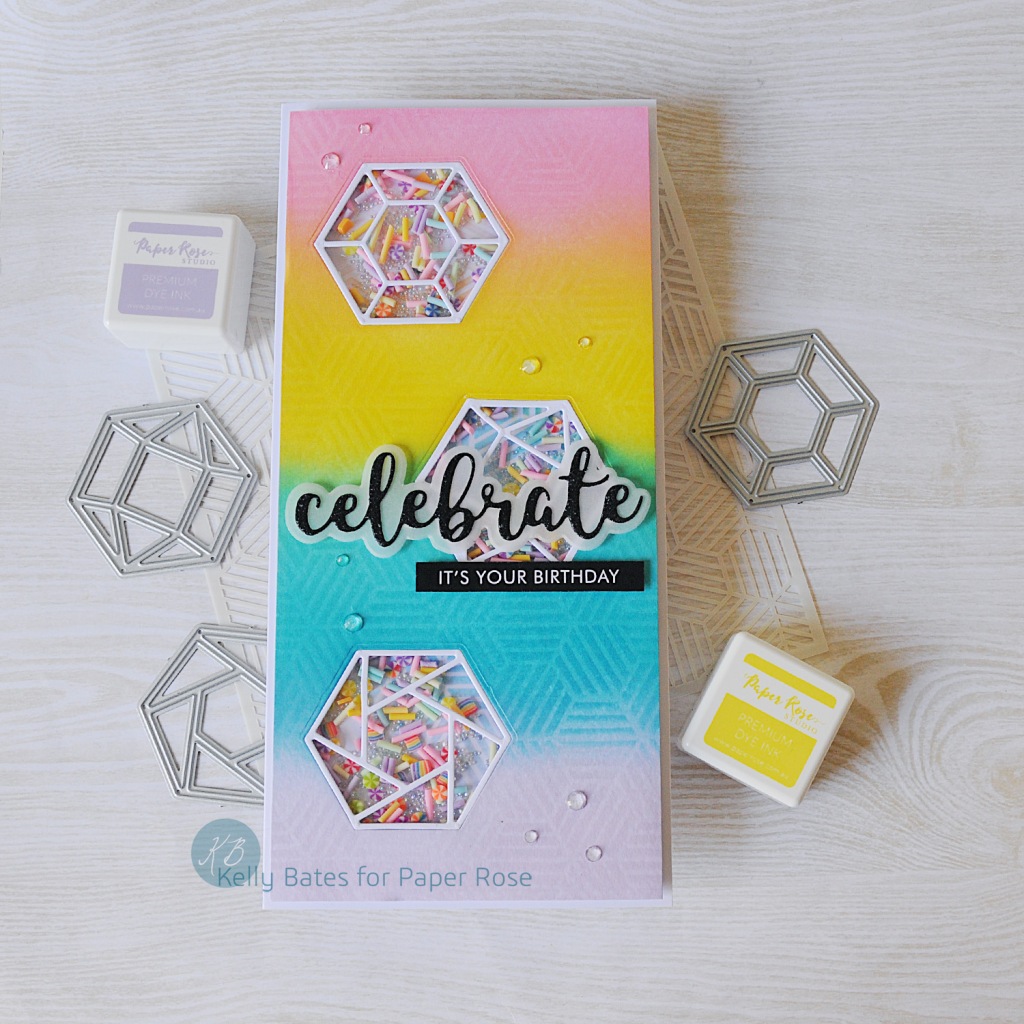
Today I’m sharing a bright and colourful shaker card using a couple of the new Hexie dies and stencil available from Paper Rose, so let’s get into it!
Paper Rose Products used: Striped Hexies Stencil, Inch Hexies Set 2 Metal Dies, Celebrate Layered Die, So Extra Black 1.0 Supporting Sentiments, Candy Buffet Shaker Mix, Clear Microbeads Shaker Mix, Clear Crystals Shaker Mix, Bubblegum, Lemon, Pool and Lilac Ink, Blending Brush
Other products used: 21cm x 20cm panel heavyweight white cardstock, two 10cm x 21cm panels white cardstock, acetate panel approx. 9cm x 19cm, die cutting machine, vellum, black glitter cardstock, foam tape, liquid glue, thin foam strips, black marker.
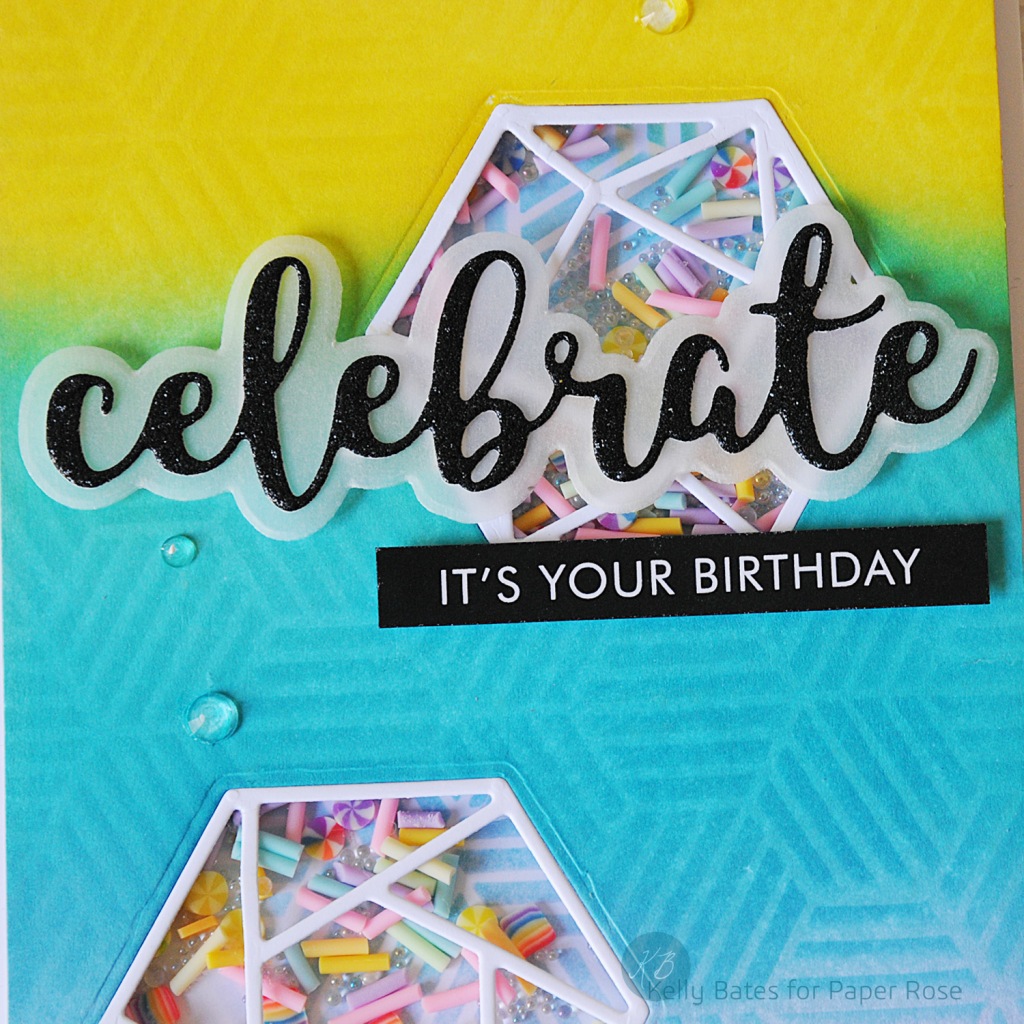
Technique: Using your larger 20cm x 21cm panel, score at the 10cm mark, fold, burnish and set aside. Take one of your 10cm x 21cm panels of white cardstock and die cut 3 of the hexagon dies which have been slightly staggered. Set the outline dies aside and discard the inner pieces. Ink blend Bubblegum using your blending brush, then move into Lemon, Pool and finish off with Lilac then set aside to dry. Grab the other 10cm panel and ink blend over the Hexies stencil in the same colours top to bottom as well. Come back to your first panel, and lightly stencil over the top of each colour again using whatever ink is left on your brushes. Set aside to dry fully. Cut your sentiment from the black glitter cardstock and it’s shadow layer from vellum. Glue your sentiment to the vellum shadow later and add small pieces of foam tape strips to the back of the letters. Cut your supporting sentiment and run a black marker around the edges to hide the white core. Lastly, cut your ink blended panel to 9.5cm x 19.5cm, and your stenciled panel just a slither smaller in both directions. To assemble flip your ink blended panel over and attach the acetate sheet over the hexie holes. Then carefully double layer your foam tape and add it to the back of the card forming square pocked for the shaker elements to go into. Fill the gaps with the Candy Buffet and Clear Microbead Shaker mixes then peel off the tape backers and place your Hexies stenciled panel face down over this. Glue the shaker element to your card base, add your sentiment and sub-sentiment, glue thew white die cut hexies outlines into the open gaps and finish with clear crystals.


