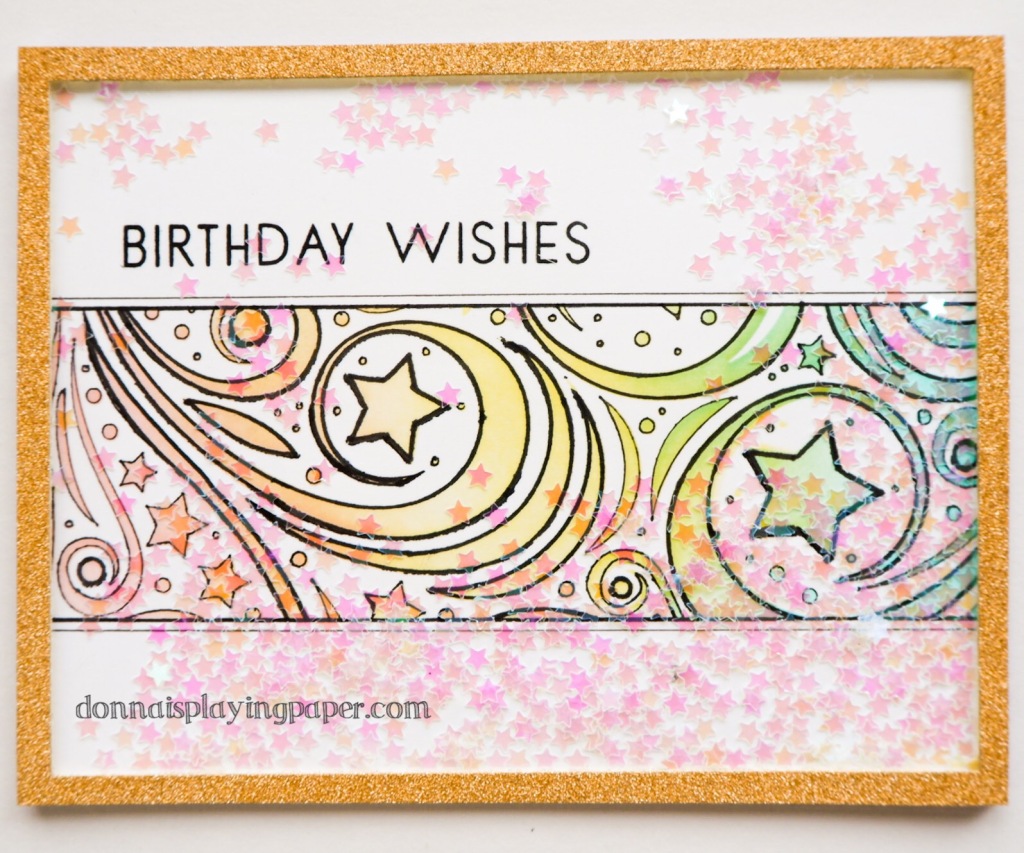
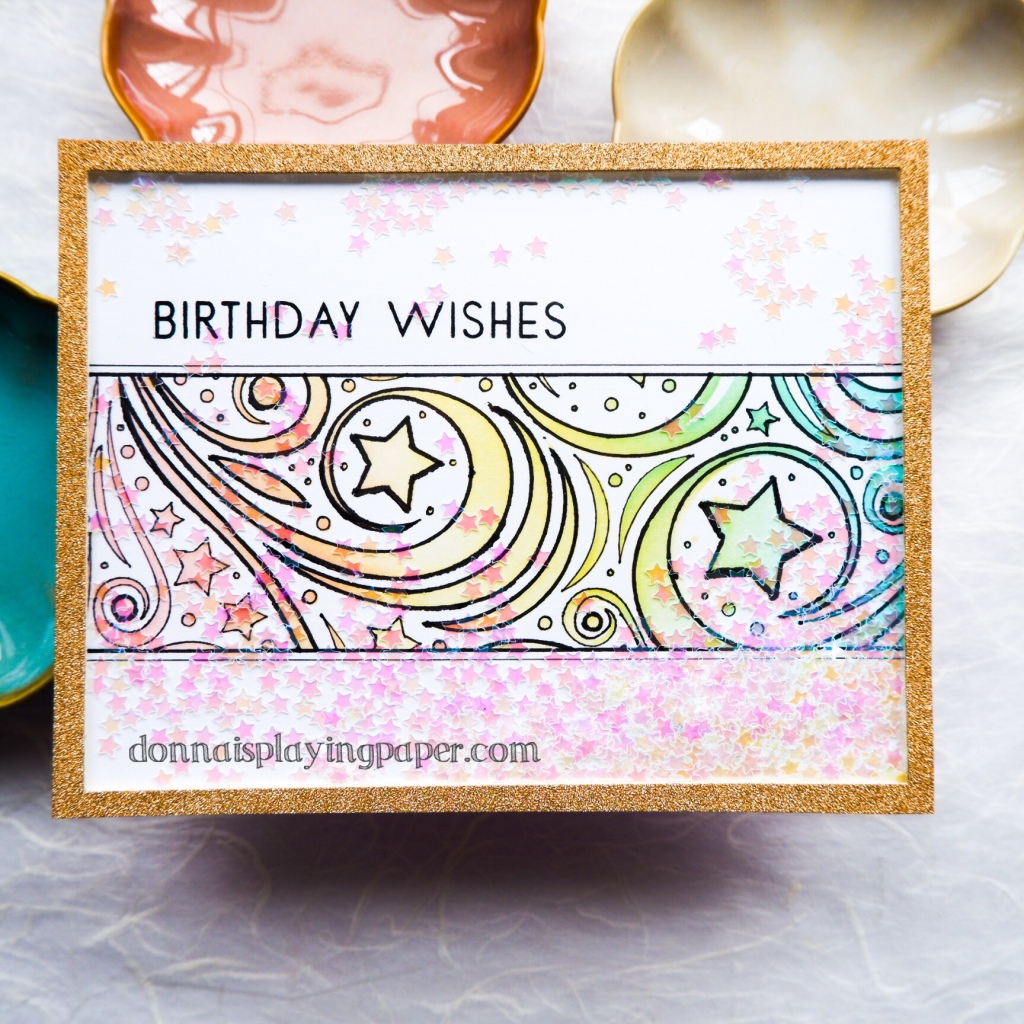
Hello friends. I’m still in a very spring mood with my colours at the moment, and I have another light, bright card for you today, although by the time I had finished photographing it, I was ready for some deep dark colours! Light cards are tricky!

The design of this card was inspired by the Starry Night Stencil by Paper Rose Studio. I first taped off a section of a card base, then taped down the stencil and blended blue, yellow and pink inks. I used Pool, Lemon and Bubblegum inks by Paper Rose, which are easy to get hold of for Australians, but a little harder for my overseas readers, so I’ve included equivalent Distress Inks for you in the links below.
I have a video of the card making process for you here for those who prefer that medium. If not, read on!
This stencil has some free floating swirls, so it’s important to make sure it’s secure before ink blending. This could be done using a tacky spray on the back of the stencil, but I don’t have that, so I used the very high tech method of holding those bits down with my finger while I blended. I made sure to get footage of my technological approach in the video.

Once I had everything blended, I then used a couple of Copic Multiliners to outline the images. I used a 0.5mm marker for the larger stars and swirls, and then a 0.05mm for the smaller details. I then removed the stencil and with the same markers drew lines above and below the blended section.
The sentiment comes from the Lotus Bouquet stamp set. I like the way this font works with the design. Next, I set about turning the panel into a shaker card.

The frame is an older piece of glitter paper that I had in my stash, cut with the Stitched Rectangles die. I’ve colour matched it to something that’s available now, and will link that below. I attached some old packaging to the back of the frame, then added some foam tape, being careful not to leave any gaps for the shaker bits to escape through.
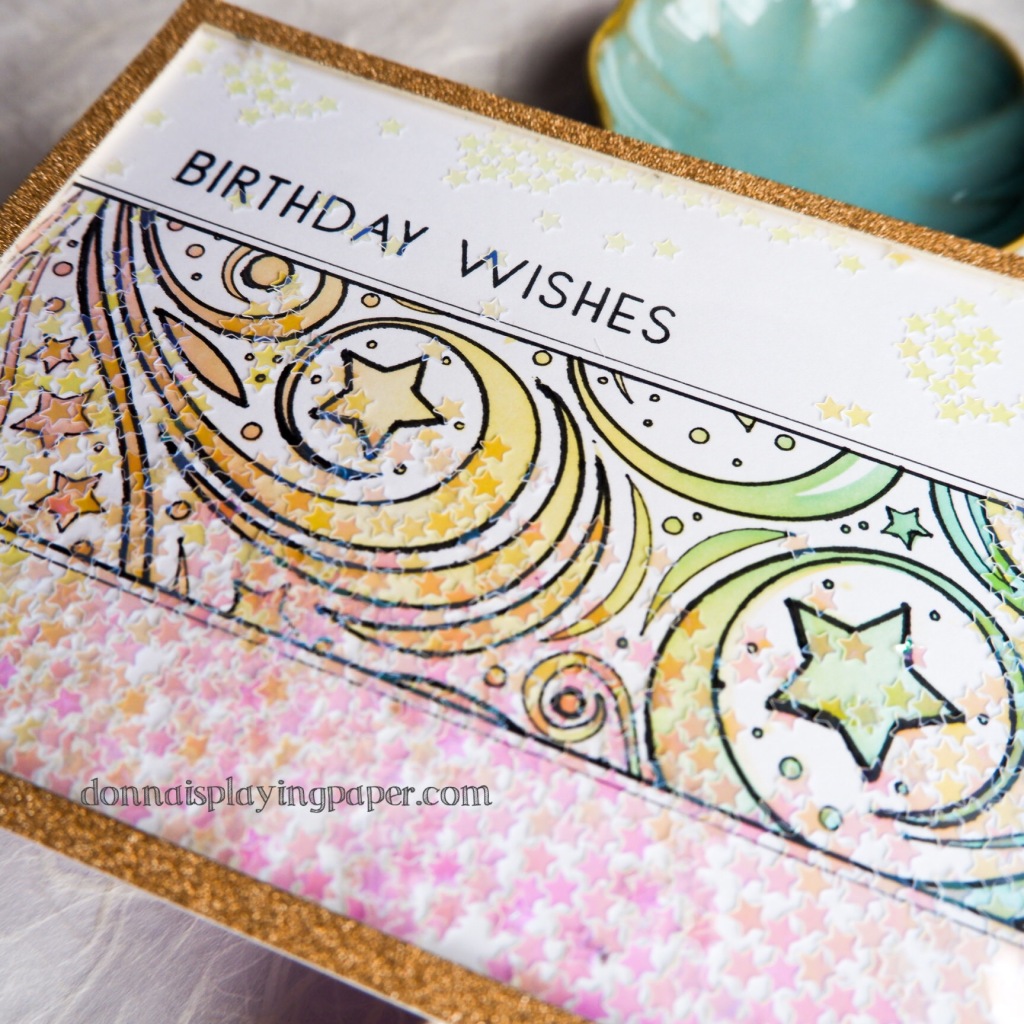
The little iridescent stars worked so well for the shaker. Sometimes shaker bits can take over the design, but these were subtle enough for my hard work to remain visible.
If you’ve enjoyed this card, and would like to see more, feel free to visit my Instagram where I post all my cards.
Until next time, may your days be full of stars and sparkle.
Blessings

